Switching, regulating and controlling
Previous chapters explained how to construct a track layout and add landscaping details. Next, you’ll want to get trains moving, switch points and signals, move boats and cars and get people to walk around. 3D Train Studio offers several methods for bringing a layout to life.
Vehicles
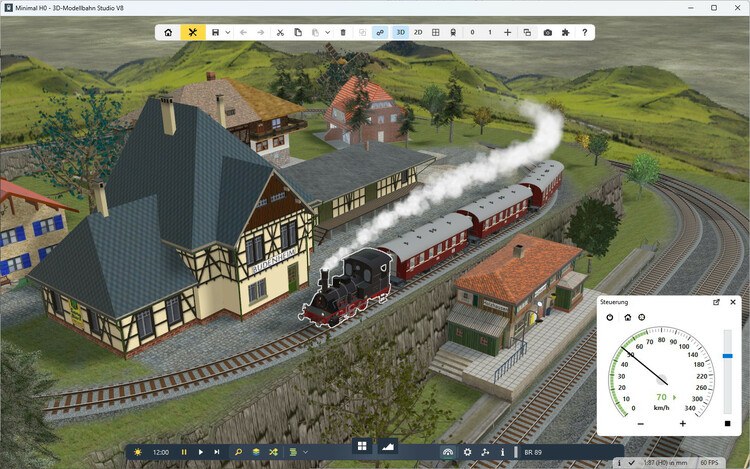
Every vehicle in 3D Train Studio, whether it’s an locomotive, truck, bicycle or small rowing boat, can be set in motion. To do this, the vehicle just has to be placed on a track or street and then selected. Click the controller icon to open a controller window for setting the vehicle’s speed.
Switches
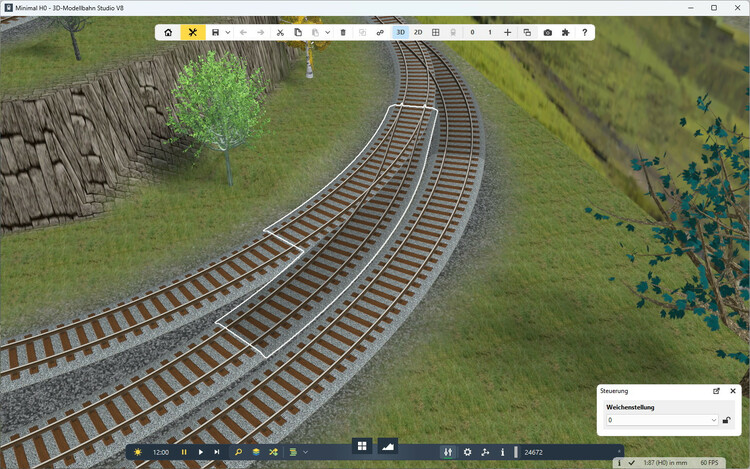
A point can be switched with a double click. Alternatively, a point can be selected and then switched in the properties window. This applies to all tracks which have several positions, regardless of whether they are three-way turnouts, turntables or rail platforms. Inactive points are visualised by a darkened track.
Signals and traffic lights
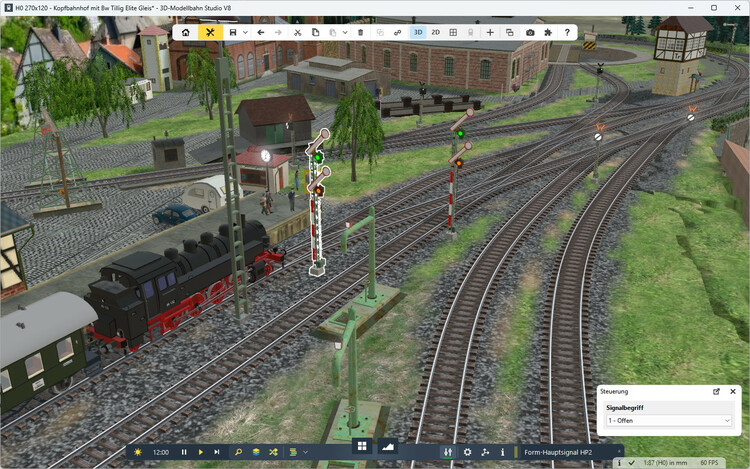
In the case of signals, the next signal aspect is set with a double click. Alternatively, a certain signal aspect can also be selected here in the properties window.
Signals have an integrated track contact with which they are connected to the track. In the properties window, the track contact can be assigned different properties for each individual signal position, such as a target speed for a train that is waiting before the signal to move.
Signals define the start and end of a route that must be specially protected. As described in Routes for rail traffic, they present the basics for safe rail operations.
Switches and controls
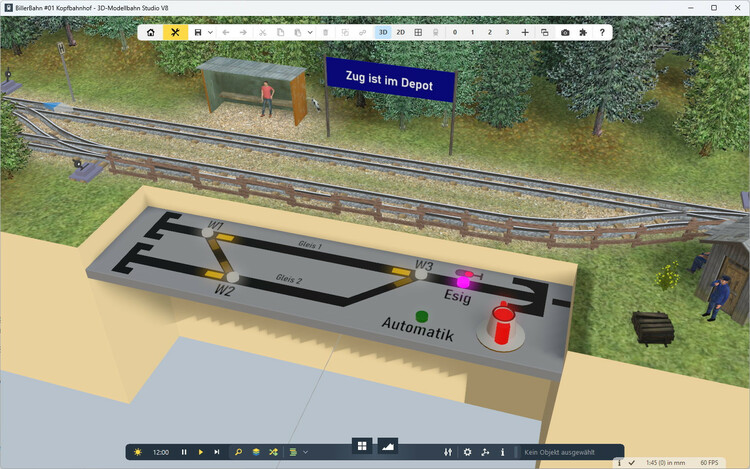
As on a real model railway layout, switches and rotary controls can be placed to control points, signals or trains. Switches are operated with a double click, rotary controls can be set to specific values in the properties window.
Switches and controllers can also be connected to other components. Once connected, points and signals are switched or train speeds are set.
For even more control options, from version v6 Control via additional 3D views are available that can be used freely.
Simulation modes
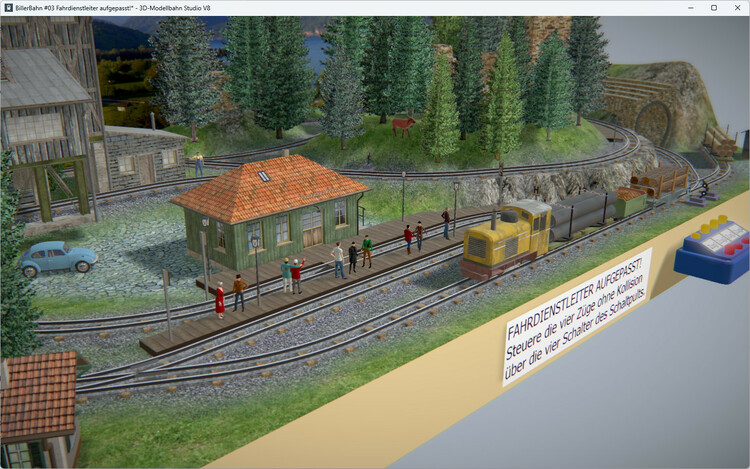
A new, empty layout is initially in planning mode. In this mode, components can be placed, moved, rotated and configured on the layout. This build mode is suitable for the editing phase, but contains too many tools that can be annoying when operating the layout.
When a layout is to be controlled, select simulation mode. In this mode, many tools that are only useful for planning are hidden and other functions and displays are activated. For example, the simulation mode contains special effects that make the layouts look even more realistic. Switchable objects such as vehicles, points, signals and controllers can also be operated more conveniently with the mouse.
Toggle between planning and simulation modes using F4 (Windows) or fn F4 (Windows via VMware).
And if you don’t want to control your layout manually, Event management offers you powerful tools for automating railway operations.
